 Save
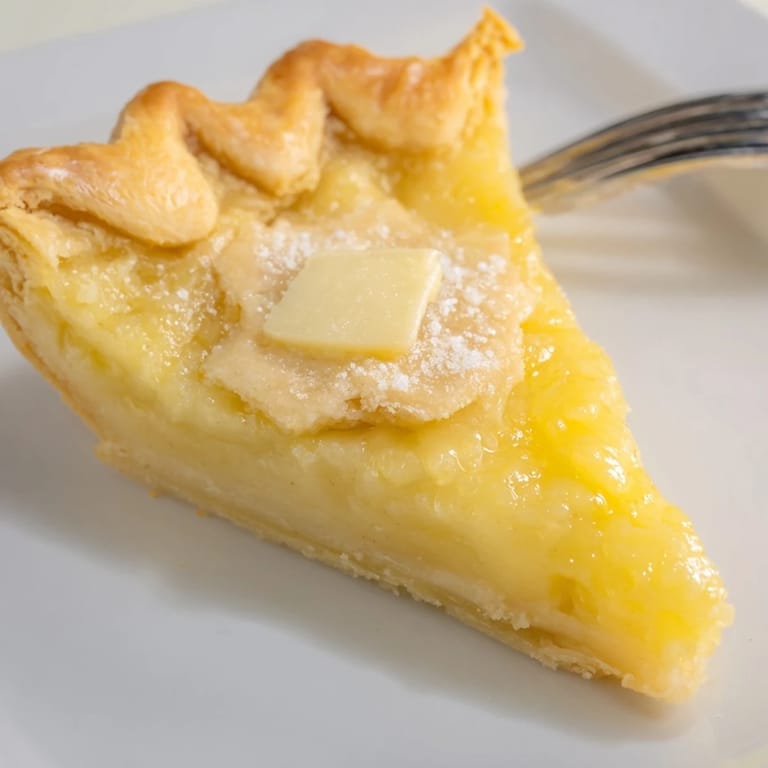
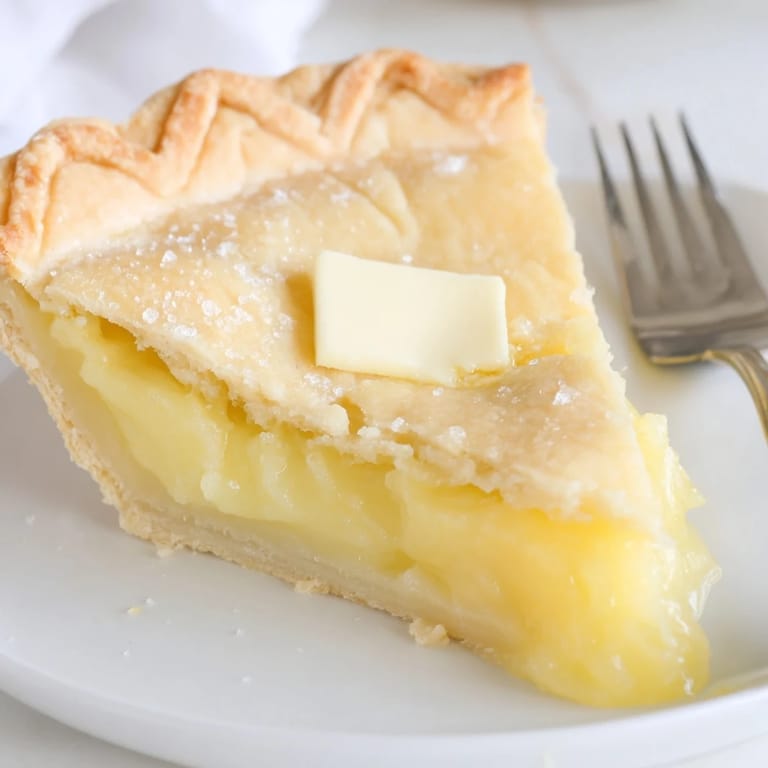
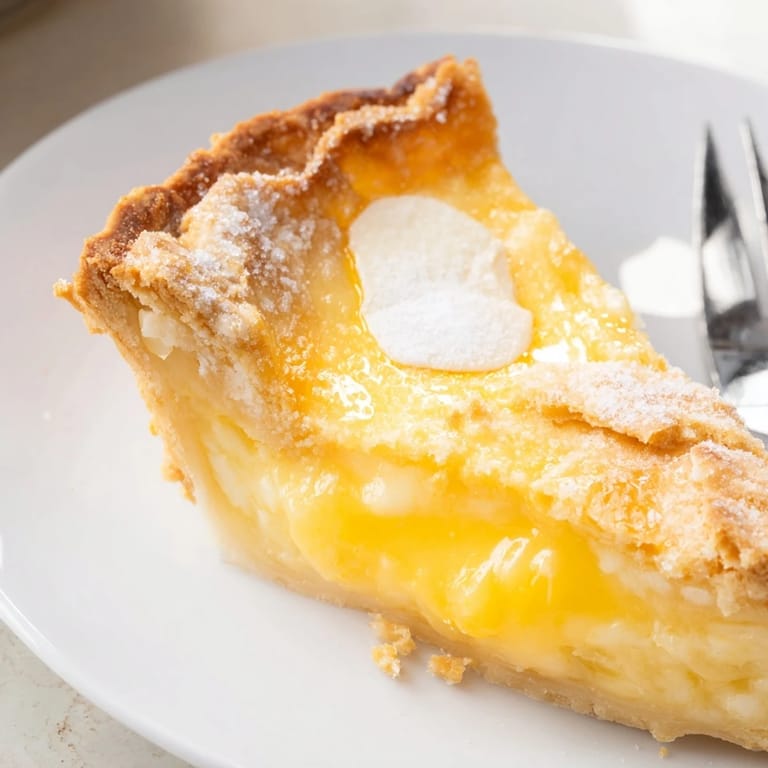
Save A nostalgic dessert from the Great Depression era, water pie transforms simple pantry staples into a surprisingly creamy, custard-like treat with a delicate vanilla flavor and crisp, sugary crust.
I first discovered water pie while researching classic American desserts. Its simplicity and unexpected flavor always remind me of resourceful kitchen traditions. The recipe quickly became a favorite whenever we craved something sweet but had few supplies.
Ingredients
- Unbaked 9-inch pie crust: Store-bought or homemade
- Water: 1 1/2 cups
- Unsalted butter: 4 tablespoons
- Granulated sugar: 3/4 cup
- All-purpose flour: 3 tablespoons
- Vanilla extract: 1 teaspoon
- Salt: Pinch
Tired of Takeout? 🥡
Get 10 meals you can make faster than delivery arrives. Seriously.
One email. No spam. Unsubscribe anytime.
Instructions
- Preheat Oven:
- Set oven to 400°F (200°C).
- Prepare Pie Crust:
- Place unbaked pie crust in a 9-inch pan and crimp edges.
- Add Water:
- Pour 1 1/2 cups water directly into pie crust.
- Combine Sugar and Flour:
- Mix sugar and flour in a small bowl. Sprinkle over water in crust.
- Add Vanilla and Salt:
- Drizzle vanilla extract plus a pinch of salt over top.
- Add Butter:
- Slice butter into thin pats and distribute across surface.
- Bake:
- Bake on lower rack at 400°F (200°C) for 30 minutes.
- Reduce Heat:
- Lower oven to 375°F (190°C) and bake 20 minutes more, until crust is golden and filling barely jiggles.
- Cool:
- Remove pie, cool to room temperature, then refrigerate 2 hours before slicing.
 Save
Save This pie always brings back memories of family gatherings when we shared stories of thriftiness and creativity in the kitchen. It sparks conversation about history and simple joys around the dinner table.
Required Tools
9-inch pie pan, mixing bowl, measuring cups and spoons, oven
Allergen Information
Contains wheat (gluten) and dairy (butter). Check store-bought crust for possible egg, dairy or soy ingredients.
Nutritional Information
Calories: 210, Total Fat: 8 g, Carbohydrates: 33 g, Protein: 2 g per serving
 Save
Save Enjoy water pie cold for its creamiest texture and a nostalgic taste of American history.
Recipe FAQ
- → What texture does water pie have?
Water pie features a creamy custard-like filling balanced by a crisp, sugary crust for satisfying contrast in each bite.
- → Can I use store-bought pie crust?
Yes, store-bought or homemade pie crusts both work well for this dessert. Check the ingredient list for dietary needs.
- → How do I know when the pie is done?
The dessert is ready when the crust is golden and the filling is mostly set with a slight jiggle in the center.
- → What flavorings complement water pie?
Vanilla is traditional, but a sprinkle of cinnamon or nutmeg can add warmth. Fresh berries and whipped cream work as toppings.
- → Is there a vegan alternative?
Yes, substitute plant-based butter and a vegan pie crust for a dairy-free, egg-free version of this nostalgic treat.
- → How do I serve water pie?
Let the pie cool to room temperature, then chill before slicing. It’s best served cold for ideal creamy texture.