 Save
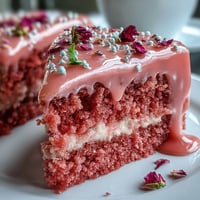
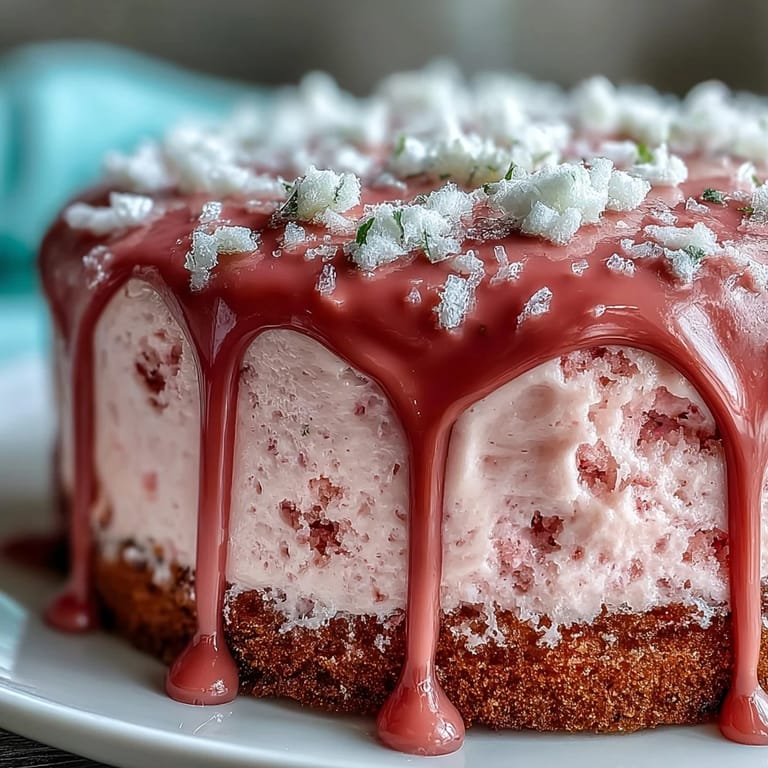
Save The aroma of rosé mingling with vanilla always transports me back to an afternoon where sunlight dapples the kitchen walls and the promise of celebration fills the air. I first made this Rosé Velvet Cake in a dash of excitement before a good friend’s bridal shower, not knowing the pink crumb would become almost as talked about as her dress. As I whisked, the scent of wine and butter swapped places with laughter and secrets shared through batter-splattered fingertips. There is a quiet satisfaction in creating something stunning, something that glimmers with a golden finish, quietly hinting at how special this day should feel. Every swirl and spill seemed not like a mistake, but an eager participant in a moment worth remembering.
When I baked this for a close friend's shower, the kitchen was full of chatter and hands eager to help, each person sneaking a taste of icing or debating just how pink was pink enough. The anticipation built as the layers cooled, and the whole group gathered to swipe little hearts into the frosting scraps. By the time we brushed on the edible gold, it felt like we were putting the finishing touch on something far more meaningful than dessert: a celebration sealed in cake layers and friendship.
Ingredients
- All-purpose flour: Sift well for a light texture—clumpy flour means dense cake, I learned that the hard way.
- Cornstarch: This little bit gives your cake an airy softness that’s worth the extra step.
- Unsweetened cocoa powder: Just enough to lend depth, but not so much to lose the rosy hue.
- Baking soda: Ensures a rise that keeps your layers tall and proud.
- Salt: A pinch elevates the subtleties of both chocolate and wine.
- Unsalted butter: Room temperature is crucial—cold butter won’t cream up luxuriously.
- Granulated sugar: For sweetness that keeps everything balanced.
- Light brown sugar: Adds gentle caramel notes that come through in every bite.
- Large eggs: Room temp eggs blend more easily, helping the batter stay smooth.
- Rosé wine: Choose an aromatic bottle you’d enjoy sipping, and the taste will linger subtly in every forkful.
- Buttermilk: This is your secret to tender, slightly tangy cake layers.
- Vanilla extract: Just a couple teaspoons coax out warmth and depth.
- Pink gel food coloring: Optional, but a few drops give that true bridal blush—careful, it goes a long way.
- Cream cheese: Needs to be soft so your frosting is cloud-like and inviting.
- Confectioners’ sugar: Sifted for a lump-free, silky-smooth finish.
- White chocolate chips: For luxe drips that temper into a glossy curtain of sweetness.
- Heavy cream: This transforms chips into a pourable dream for decorating.
- Edible gold luster dust: Not just for looks, it sets the whole scene aglow—don’t skip if it’s a celebration.
- Clear vodka or lemon extract: Turns that luster into brushable gold paint (and the alcohol evaporates, leaving just shine).
Tired of Takeout? 🥡
Get 10 meals you can make faster than delivery arrives. Seriously.
One email. No spam. Unsubscribe anytime.
Instructions
- Prep the pans:
- Line three 8-inch cake pans with parchment, greasing every corner so nothing sticks behind.
- Mix the dry:
- Sift flour, cornstarch, cocoa, baking soda, and salt in a bowl—the cloud of cocoa smells like the start of something decadent.
- Make it fluffy:
- Beat butter with both sugars until the whole thing is pale and voluminous, like frosting before the sugar even goes in.
- Add the eggs:
- Crack in eggs one by one, stirring gently and scraping the bowl so every bit blends in; add the vanilla last for that hint of perfume.
- Rosé moment:
- Pour wine and buttermilk into a jug—watch how the colors swirl, then pause to imagine how it will taste in the final cake.
- Combine carefully:
- With your mixer on low, add flour in three parts, alternating with the rosé mixture, ending with flour; fold in pink gel if desired, watching the batter blush just right.
- Divide and bake:
- Smooth batter equally into the pans and bake until a toothpick comes out clean and the tops spring back—about 30 minutes.
- Cool the cakes:
- Let them rest for 10 minutes in their pans before unmolding onto a rack; enjoy a deep breath of steamy, wine-scented cake.
- Frosting time:
- Beat cream cheese with butter until utterly smooth, then slowly mix in powdered sugar, vanilla, and just a pinch of salt for balance.
- Assemble the beauty:
- Stack cakes with frosting in between, smoothing sides and top until it looks like a snowy peak; chill for half an hour to set.
- Gold drip magic:
- Melt chocolate chips and cream gently, let cool, then drip from a spoon along the chilled cake edge—it should tumble in ribbons.
- Paint it gold:
- Mix luster dust with a splash of vodka and, using a delicate brush, paint the drips once they've cooled and set for a show-stopping sheen.
- Decorate and finish:
- Crown with edible flowers and extra gold if you wish, then step back and admire your masterpiece.
 Save
Save Watching the bride-to-be’s eyes widen as she took her first bite was when I realized this cake had become part of the celebration itself. It was passed around with whispers of How did you make it sparkle like that and requests from future brides, a little piece of joy made edible.
How to Make the Gold Drip Shine
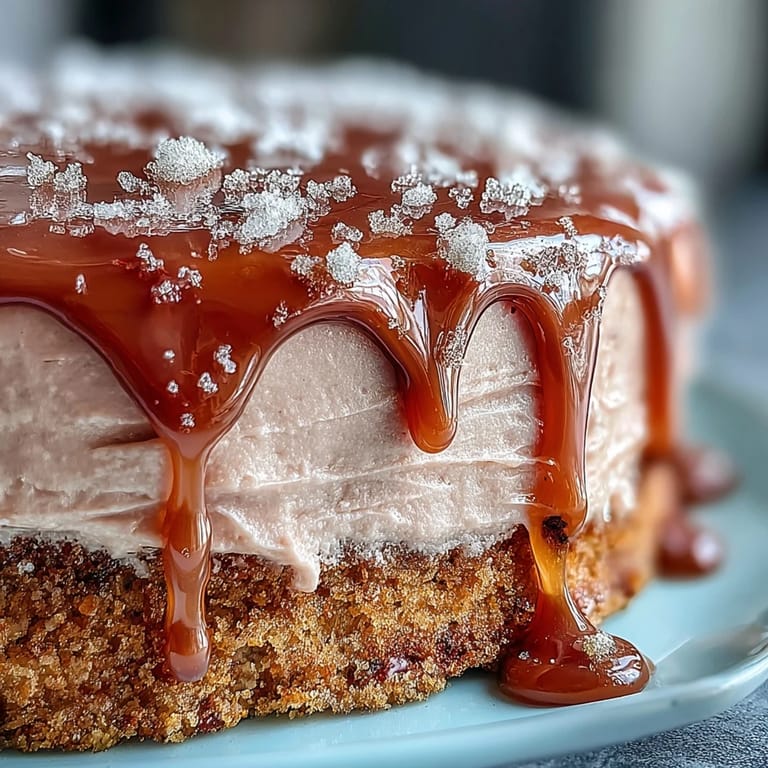
If you’re nervous about the gold drip, know you’re not alone—it took me a couple of attempts to realize patience is key. Let the chocolate cool slightly before you drip, or it’ll run too fast; let the ganache set before brushing on the gold, and you’ll get that defined, luxurious look. A soft pastry brush kept just for edible paint works wonders and feels delightfully fancy each time.
Troubleshooting Blush Cakes
The first time my cake came out too pale, I laughed and simply told the guests it was ‘chic minimalist’. If you want that perfect, Instagram-worthy blush, add gel food coloring gradually—a little too much and you’ll have neon instead. And don’t fret: even a softly colored cake gets ooohs and aaahs if the crumb is tender and the frosting thick.
Making This Cake Ahead (and Stress-Free)
I’ve learned that making this cake ahead is the best way to enjoy the party myself, not just play baker. You can bake and freeze the layers days before, then thaw and frost on the day. That way, your kitchen stays calm, and you have time to give every drip the golden touch without rushing.
- Wrap cooled cake layers tightly in plastic wrap before freezing.
- Let the ganache and gold set before transporting to an event.
- Keep edible flowers chilled until just before serving for freshest look.
 Save
Save Share this cake surrounded by people you love, and notice how the sparkle and laughter tend to linger long after the last crumb disappears.
Recipe FAQ
- → Can I omit the alcohol?
Yes. Substitute equal parts pink grape juice or sparkling cider for the rosé to retain flavor and moisture without alcohol. Adjust sweetness if needed.
- → How do I achieve a consistent pink hue?
Use a concentrated gel color a little at a time and mix thoroughly. Natural rosé adds a subtle blush; add gel sparingly to reach a bolder shade without altering texture.
- → How do I make a stable gold drip?
Make a white chocolate ganache with white chocolate and cream, cool until slightly thickened, then spoon or pipe around the edges. Once set, mix edible gold luster dust with a few drops of vodka or lemon extract and paint over the ganache for a shiny finish.
- → Why does frosting slide off the cake?
Sliding often happens when layers are warm or frosting is too soft. Cool layers completely, chill briefly after crumb coating, and use well-chilled frosting or a stabilizer to ensure proper set before decorating.
- → How should I store and how long will it keep?
Store refrigerated in an airtight cake carrier for up to 3–4 days. Allow slices to come to room temperature for 20–30 minutes before serving for best texture and flavor.
- → Can I add fresh decorations?
Fresh berries and edible flowers complement the rosé flavor and natural blush. Add them just before service to preserve freshness and prevent moisture from affecting the finish.