 Save
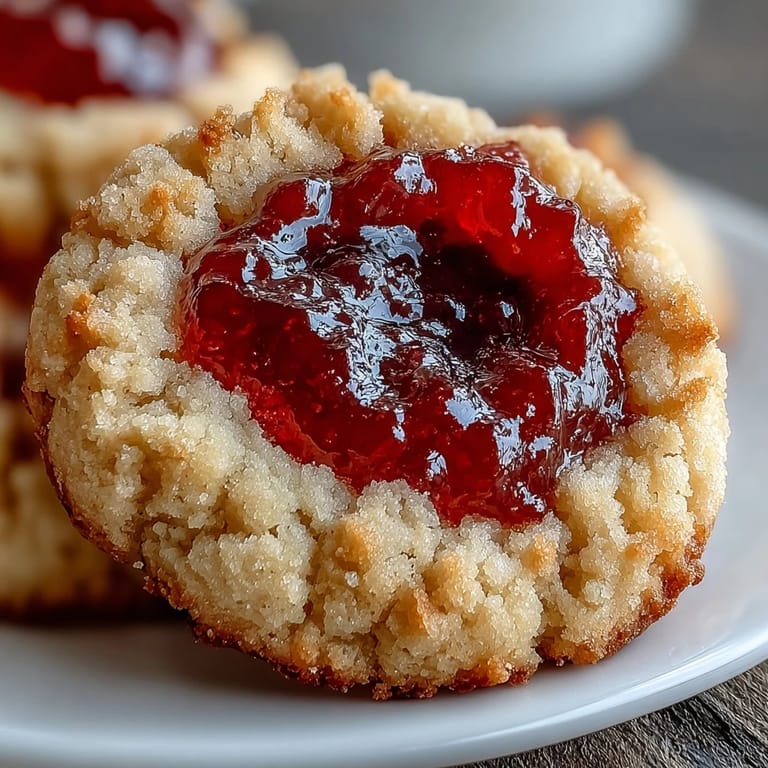
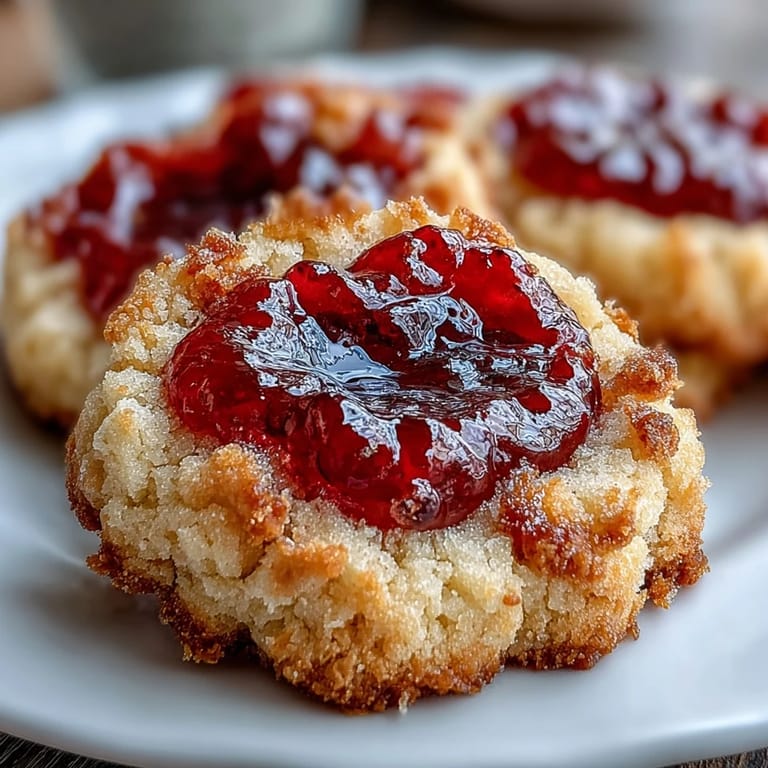
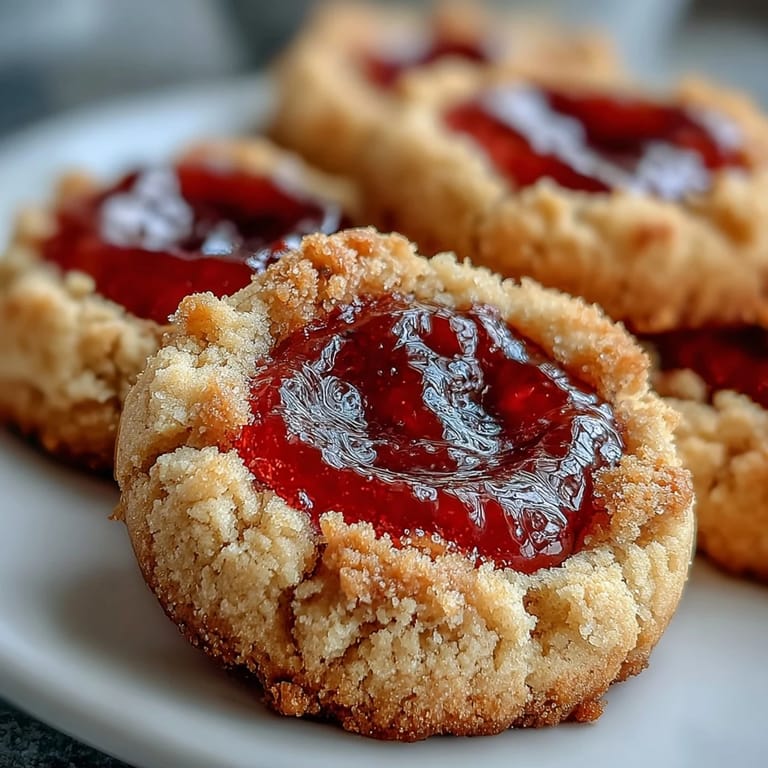
Save My neighbor handed me a still-warm thumbprint cookie through the picnic blanket one June afternoon, and I bit into that little pocket of jam expecting something fancy but getting something better: pure simplicity. The buttery shortbread melted on my tongue while the strawberry filling burst with just enough tartness to cut through the sweetness, and right then I understood why these cookies have shown up at summer gatherings for generations. There's no pretense here, just honest baking that tastes like someone cared enough to press their thumb into each one.
I baked these for my daughter's school bake sale, and watching other kids' faces light up when they realized the center was filled with jam reminded me why simple desserts often matter more than complicated ones. Even the shy kid who never buys anything at these events came back for a second cookie, and I think that moment told me everything I needed to know about this recipe.
Ingredients
- Unsalted butter, softened: Use room temperature butter so it creams smoothly with the sugar without turning greasy or lumpy.
- Granulated sugar: This is where the cookies get their tender crumb, so don't skip it or swap it carelessly.
- Pure vanilla extract: The real stuff makes a noticeable difference in flavor depth, trust me on this one.
- Salt: Just a quarter teaspoon, but it wakes up all the other flavors and prevents the cookies from tasting flat.
- All-purpose flour: Measure by spooning into your measuring cup and leveling with a knife to avoid packing it down.
- Strawberry jam, seedless preferred: Seedless jam spreads more evenly in those little thumbprints, though seeded jam works if that's what you have.
- Powdered sugar for dusting: Optional, but it adds a lovely snowy finish and a whisper of extra sweetness.
Tired of Takeout? 🥡
Get 10 meals you can make faster than delivery arrives. Seriously.
One email. No spam. Unsubscribe anytime.
Instructions
- Heat your oven and prep your stage:
- Preheat to 350°F and line two baking sheets with parchment paper so you're ready when the dough comes together. This little bit of setup makes everything flow faster and keeps you from rushing through the next steps.
- Cream butter and sugar until fluffy:
- Beat them together for 2 to 3 minutes until the mixture looks pale and airy, almost like clouds. This step incorporates air into the dough, which gives the cookies their tender, melt-in-your-mouth texture.
- Add vanilla and salt:
- Beat these in so they're evenly distributed throughout the butter mixture. Don't skip this step even though it feels small.
- Mix in the flour gently:
- Add it gradually and stir just until combined—overworking at this point makes tough cookies instead of tender ones. You want a soft dough that holds together but doesn't feel tough or elastic.
- Roll and space your dough balls:
- Scoop tablespoon-sized portions and roll them between your palms into smooth balls, then place them 2 inches apart on the baking sheets. They'll puff up slightly as they bake, so give them room to breathe.
- Make those signature thumbprints:
- Press your thumb into the center of each ball, or use the back of a rounded teaspoon if your thumbs are too large. Push down gently but firmly to create a little well without cracking the dough.
- Fill with jam:
- Spoon about half a teaspoon of jam into each indent, being careful not to overfill or it'll bubble over during baking. A little goes a long way here.
- Bake until golden at the edges:
- Slide the sheets into the oven for 13 to 15 minutes, watching until the edges turn pale golden while the centers stay soft. The cookies will firm up as they cool, so don't overbake or they'll become crunchy.
- Cool with patience:
- Let them sit on the baking sheet for 5 minutes to set slightly, then transfer to a wire rack to cool completely. This prevents them from breaking apart while still warm and lets the jam set.
- Optional dusting:
- If you want that pretty powdered sugar finish, dust the cooled cookies just before serving.
 Save
Save My grandmother used to make these for church picnics, and I remember watching her thumb-press each cookie with the kind of focus usually reserved for important decisions, like she was blessing each one. That memory stuck with me, and now when I make them, I feel that same quiet satisfaction in the repetitive motion and the knowledge that whatever comes out of the oven will bring someone joy.
Flavor Variations Worth Trying
Strawberry is classic, but the base dough is forgiving enough to work with practically any jam you have on hand. I've swapped in raspberry, apricot, and even a blackberry-lemon combo that turned out unexpectedly beautiful. The jam is really your canvas here, so feel free to experiment with whatever looks good at the farmers market.
Storage and Keeping
These cookies hold up remarkably well in an airtight container at room temperature for three to four days, which makes them perfect for planning ahead. If you want to bake and freeze them, you can freeze the unbaked dough balls for up to a month, then add a minute or two to the baking time when you pull them straight from the freezer.
Making Them Perfect Every Time
The secret to consistently great thumbprint cookies is understanding that the dough texture matters more than exact measurements. If your dough feels too soft or sticky after mixing, pop it in the fridge for 15 minutes before rolling and shaping. This small pause prevents spreading and gives you a firmer base for those signature thumbprints.
- Chill shaped dough balls for 15 minutes before baking if you like a firmer, less-spread cookie.
- Pair these with iced tea, lemonade, or even a cold glass of milk for the perfect summer treat.
- Make double the recipe and freeze half the dough balls so you always have fresh cookies ready to bake.
 Save
Save These cookies are the kind of simple magic that reminds you why you love baking in the first place. They ask so little and give so much in return.
Recipe FAQ
- → What type of jam works best for the filling?
Seedless strawberry jam is preferred for a smooth filling, but raspberry or apricot jams can add a delightful twist.
- → Can the dough be chilled before baking?
Yes, chilling the shaped dough balls for about 15 minutes before baking helps create a firmer texture and prevents spreading.
- → How should the indentation for the jam be made?
Use your thumb or the back of a rounded teaspoon to create a small well in the center of each dough ball to hold the jam securely.
- → What are good beverage pairings for these cookies?
Iced tea or sparkling lemonade complement the sweet and buttery flavors perfectly, enhancing the picnic experience.
- → Is there a recommended oven temperature and baking time?
Bake at 350°F (175°C) for 13–15 minutes until the cookie edges are lightly golden.