 Save
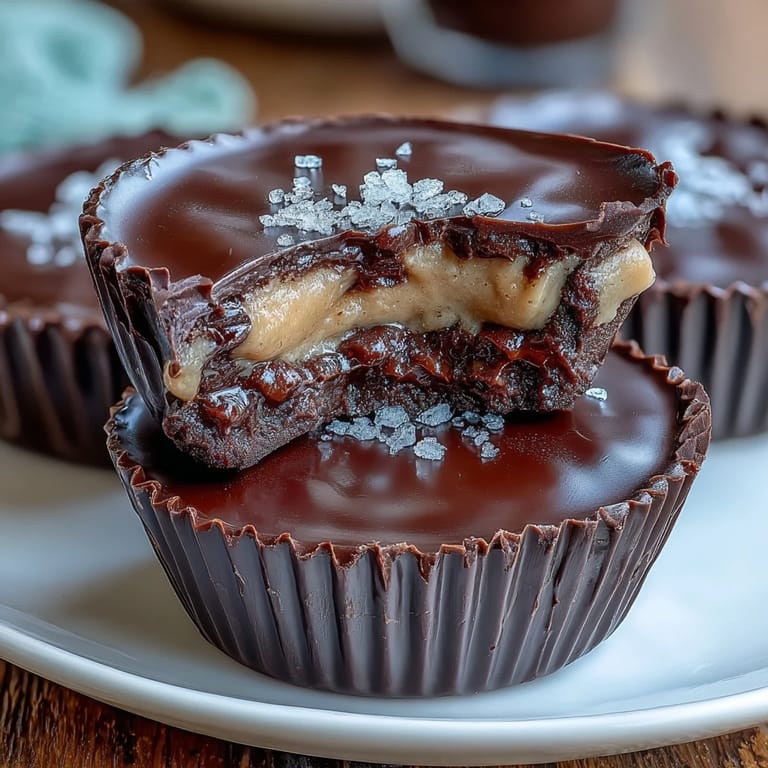
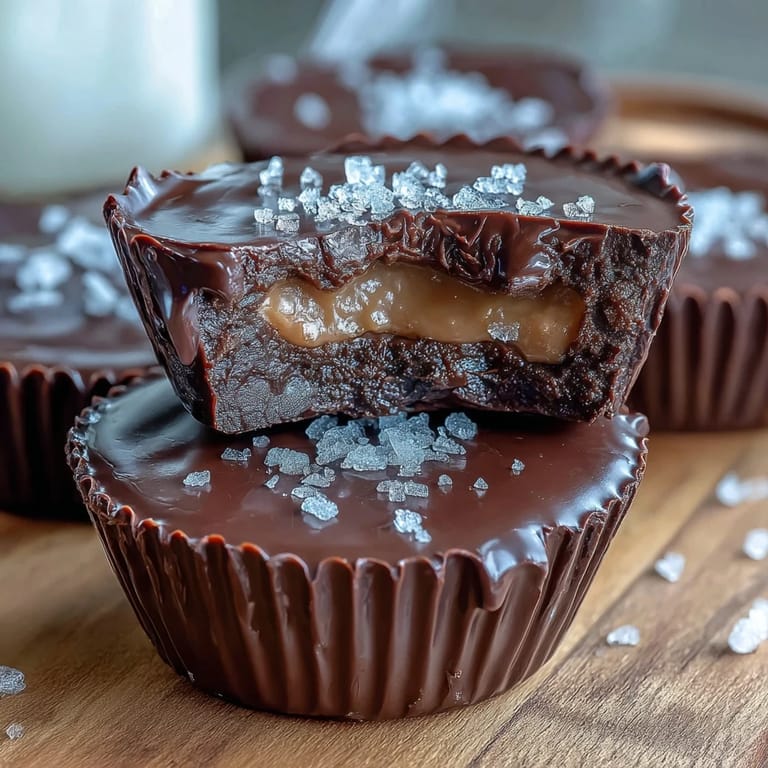
Save There's something magical about creating your own candy at home, especially when it's a beloved classic like peanut butter cups. These homemade Reese's-style peanut butter cups bring together the irresistible combination of rich dark chocolate and creamy, lightly salted peanut butter filling. With just a handful of simple ingredients and minimal effort, you can craft confections that rival any store-bought version—and they taste even better because you made them yourself. Perfect for gifting, holiday treats, or satisfying that inevitable chocolate-peanut butter craving, these cups are surprisingly easy to master.
Save The beauty of this recipe lies in its simplicity. Unlike complicated confections that require tempering chocolate or specialized equipment, these peanut butter cups come together with basic kitchen tools and straightforward techniques. The dark chocolate provides a deep, slightly bitter contrast to the sweet, creamy peanut butter filling, creating a perfectly balanced treat. Whether you're making them for a special occasion or simply because you deserve something delicious, these homemade cups will quickly become a staple in your dessert repertoire.
Ingredients
Tired of Takeout? 🥡
Get 10 meals you can make faster than delivery arrives. Seriously.
One email. No spam. Unsubscribe anytime.
- Chocolate Layer: 250 g (9 oz) dark chocolate (70% cocoa or higher), chopped, and 1 tbsp coconut oil (optional, for smoother texture)
- Peanut Butter Filling: 120 g (½ cup) creamy peanut butter (unsweetened, unsalted preferred), 2 tbsp unsalted butter (softened), 60 g (½ cup) powdered sugar (sifted), ¼ tsp fine sea salt, and ½ tsp vanilla extract
Instructions
- Step 1: Prepare the Muffin Tin
- Line a 12-cup mini muffin tin with paper liners to ensure easy removal and a professional presentation.
- Step 2: Melt the Chocolate
- Melt the dark chocolate and coconut oil together in a heatproof bowl set over a pan of simmering water, or microwave in short bursts, stirring until smooth.
- Step 3: Create the Chocolate Base
- Spoon about 1 teaspoon of melted chocolate into the bottom of each muffin liner. Tilt or use a spoon to coat the sides slightly. Chill in the freezer for 10 minutes to set.
- Step 4: Make the Peanut Butter Filling
- Meanwhile, in a medium bowl, mix peanut butter, butter, powdered sugar, salt, and vanilla extract until smooth and thick.
- Step 5: Add the Filling Layer
- Roll about 1 teaspoon of the peanut butter mixture into a ball, flatten slightly, and place onto the set chocolate bases. Gently press down to create an even layer, leaving a small border around the edge.
- Step 6: Top with Chocolate
- Spoon the remaining melted chocolate over the peanut butter layers, covering completely. Tap the tin gently to smooth the tops.
- Step 7: Chill and Set
- Chill in the refrigerator for at least 30 minutes, or until fully set.
- Step 8: Serve and Store
- Remove cups from liners and serve. Store in an airtight container in the refrigerator for up to 1 week.
Zusatztipps für die Zubereitung
For the smoothest results, ensure your butter is fully softened before mixing with the peanut butter—this creates a creamy, homogeneous filling that's easy to work with. When melting chocolate, patience is key: use gentle heat and stir frequently to prevent scorching. If your chocolate becomes too thick, add a small amount of coconut oil to restore fluidity. The optional coconut oil in the chocolate layer not only improves texture but also gives the finished cups a beautiful glossy sheen. For perfectly even cups, use a small spoon or offset spatula to spread the chocolate layers, and don't skip the tapping step—it helps eliminate air bubbles and creates smooth tops.
Varianten und Anpassungen
This recipe is wonderfully adaptable to different tastes and dietary needs. For a vegan version, simply substitute the unsalted butter with dairy-free butter and ensure your chocolate is dairy-free. Experiment with different nut butters like almond, cashew, or sunflower seed butter for unique flavor profiles. If you prefer sweeter chocolate, use dark chocolate with a lower cocoa percentage (around 60%), or even milk chocolate for a more traditional taste. Add a sprinkle of flaky sea salt on top before the final chilling for an elegant sweet-salty contrast. You can also incorporate mix-ins like chopped peanuts, mini chocolate chips, or even a thin layer of raspberry jam for creative variations.
Serviervorschläge
These homemade peanut butter cups are delicious on their own, but they also pair wonderfully with beverages. Serve them alongside a hot cup of coffee or espresso for an afternoon treat, or enjoy with a glass of cold milk for a nostalgic snack. They make excellent additions to dessert platters, cookie exchanges, or gift boxes. For special occasions, arrange them on a decorative plate with fresh berries and a dusting of cocoa powder. Because they store well in the refrigerator, you can make a batch ahead of time for parties, keeping them chilled until serving. They're also perfect for packing in lunchboxes or taking on picnics, as long as you keep them cool.
 Save
Save Once you've mastered this basic recipe, you'll find endless opportunities to customize and experiment. The key to perfect homemade peanut butter cups is maintaining the balance between the chocolate and filling layers, ensuring neither overpowers the other. With practice, you'll develop your own preferences—perhaps a thicker chocolate shell, a saltier filling, or a specific chocolate blend. These cups prove that the best treats are often the simplest ones, made with care and quality ingredients. Enjoy the process of creating these little indulgences, and savor every bite of your homemade masterpiece.
Recipe FAQ
- → What type of chocolate works best?
Use dark chocolate with 70% cocoa or higher for a rich flavor and smooth texture.
- → Can I use different nut butters?
Yes, almond or cashew butter can be substituted for variation in taste and texture.
- → How to achieve a smooth chocolate layer?
Mix chocolate with coconut oil while melting to ensure a silky and easy-to-spread consistency.
- → Is chilling necessary before serving?
Chilling allows the chocolate to firm up and the layers to set properly for the best bite.
- → How to make these cups vegan?
Use dairy-free butter and check that the chocolate is free of animal products.