 Save
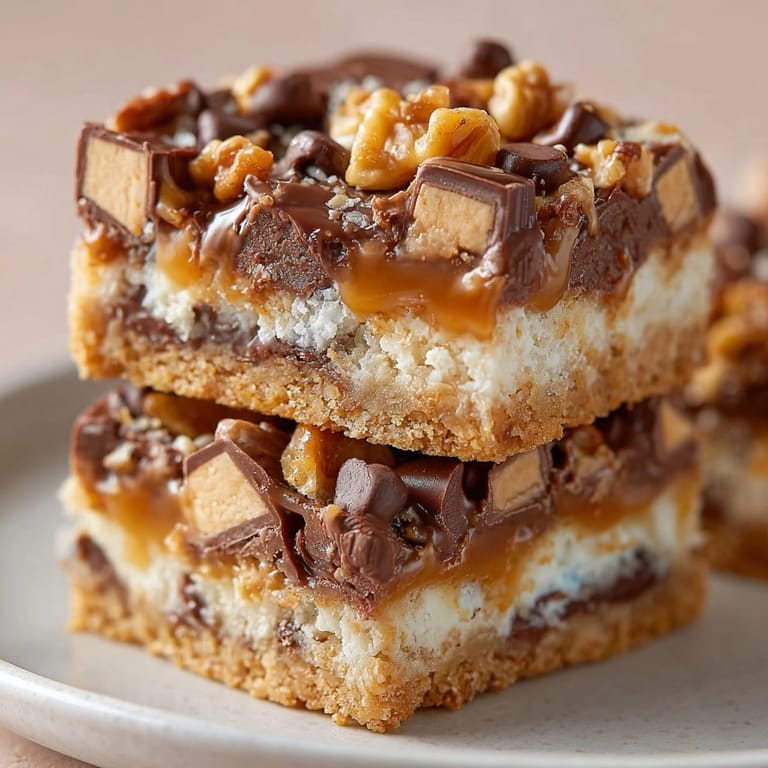
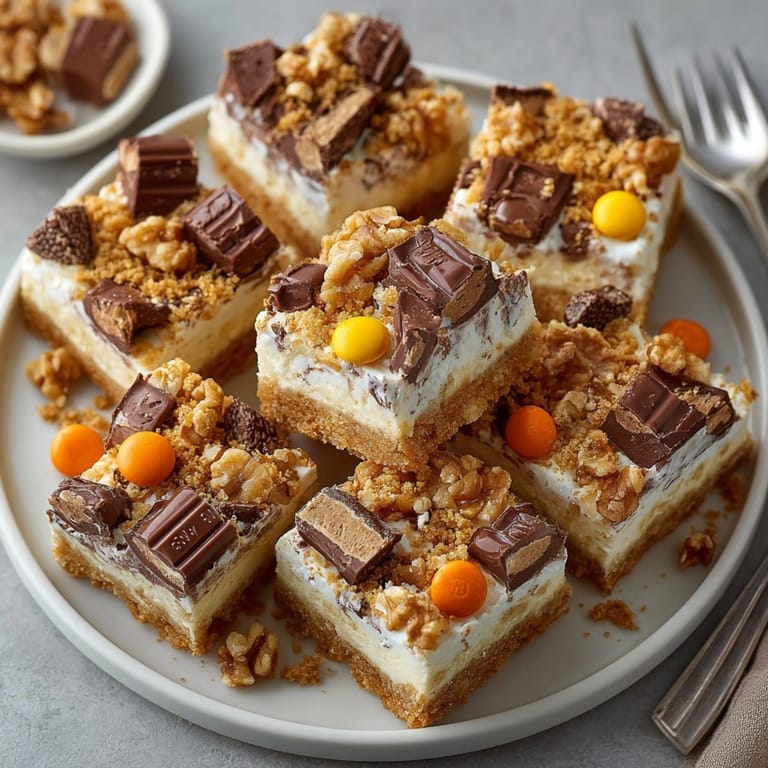
Save There is never a shortage of leftover Halloween candy at our house so these chewy magic bars have become my go-to way for transforming those treats. Rich layers of buttery graham cracker crust packed candy and creamy condensed milk always disappear fast whether after trick-or-treat or for potlucks. Every bite balances gooey sweetness and crunchy bits so you get a little taste of every candy bar in every slice.
I started making these during a rainy November as a way to clear out the candy bowl. Now my friends expect me to bring a plate to every autumn gathering and my kids love picking out which candy to chop for the topping.
Ingredients
- Graham cracker crumbs: create the essential crunchy base of these bars and selecting a fresh pack ensures the crust holds together well
- Unsalted butter: adds richness and helps bind the crust. I always melt it gently for the best taste
- Sweetened condensed milk: forms the creamy layer that makes the bars gooey in the middle. Choose a trusted brand for that true flavor
- Semisweet chocolate chips: bring classic chocolatey pockets. Opt for a good quality so they melt perfectly
- Assorted Halloween candy: gives your bars variety. I chop them small for even layering and always skip hard shells or gummy types for smooth texture
- Butterscotch chips: add a toasty caramel note. Look for a brand that uses real butter
- Shredded sweetened coconut (optional): offers chewy tropical sweetness. If you use it try to find finely shredded
- Chopped walnuts or pecans (optional): supply crunch and nutty flavor. Fresh nuts always make a difference
Tired of Takeout? 🥡
Get 10 meals you can make faster than delivery arrives. Seriously.
One email. No spam. Unsubscribe anytime.
Instructions
- Prep The Pan:
- Line your baking pan with parchment paper allowing the sides to hang over. This makes lifting the finished bars out easy and neat
- Build The Crust:
- Mix graham cracker crumbs and melted butter in a medium bowl. Stir until the texture feels like wet sand. Pour into your pan and press down firmly with a spatula or fingers to create an even layer packed tight
- Layer The Sweetness:
- Slowly pour the whole can of sweetened condensed milk over the crust. Tilt the pan and use a spatula to help cover every corner with a luscious white blanket
- Add The Candy Toppings:
- Scatter chocolate chips first for a good base then sprinkle with chopped candy bars so every bite gets flavor. Layer butterscotch chips coconut and nuts if you like. Gently press toppings so they nestle into the milk
- Bake Until Golden:
- Place in your preheated oven and bake about half an hour. Watch for the edges turning deep gold and the center setting up. This is when the bars are ready
- Cool And Slice:
- Let the pan cool fully on a rack. Once the bars are firm use the parchment to lift them out. Slice into squares cleaning the knife between cuts for neat edges
 Save
Save Magic bars always make the kitchen smell like caramel and chocolate while baking. Every year my family gathers around hoping for the first warm slice and the rainbow layers always remind me of childhood autumns spent sorting candy after a chilly trick-or-treat night.
Storage Tips
Store leftover bars tightly covered in an airtight container at room temperature and they will keep soft and chewy for about five days. If you plan to leave them longer pop them in the fridge to extend freshness. For best texture let refrigerated bars come to room temperature before serving so the candy pieces soften.
Ingredient Substitutions
No graham crackers handy Try crushed pretzels or vanilla wafers for a twist on the crust. Swap in white chocolate or peanut butter chips for the chocolate layer if you want extra variety. Use sunflower seeds or pumpkin seeds instead of nuts for allergy-friendly crunch and unsweetened coconut if you want less sweetness.
Serving Suggestions
Serve magic bars chilled for firmer slices or slightly warmed for maximum gooeyness. Cut small squares for lunchboxes or slice into fingers for a cookie tray. A drizzle of melted chocolate or caramel on top turns them into dessert showstoppers for parties.
Cultural And Historical Context
Magic bars date back to midcentury home kitchens where pantry-staple desserts became popular. Traditionally called seven-layer bars they have been reinvented by families for holidays and celebrations. Adding specific holiday candy makes this recipe truly modern and personal with every batch representing a little family history in each bite.
 Save
Save This recipe keeps Halloween magic going long after trick-or-treat is done and always brings a smile at any gathering. Try different candy combinations and let the kids pick what goes in for seasonal family tradition. Every batch is a surprise and a sweet piece of autumn to enjoy.
Recipe FAQ
- → What kind of Halloween candy works best?
Chocolate-based candies like Snickers, Milky Way, Kit Kat, Reese's, and M&M’s blend well for soft, gooey bars.
- → Can I skip the coconut or nuts?
Absolutely. Both are optional—omit as desired for a nut-free or coconut-free version.
- → How do I ensure clean slices?
Allow bars to cool completely before lifting from the pan and cutting to prevent crumbling.
- → How long do these bars keep?
Store in an airtight container at room temperature for up to five days for best texture.
- → Can I use a different pan size?
A 9x9-inch pan works best for thickness, but any similar size will yield good results with minor adjustments.
- → Are these bars vegetarian?
Yes—if using candies without gelatin or animal ingredients. Check candy labels to confirm.