 Save
Save I'll never forget the Halloween party where my friend Sarah arrived with this absolutely haunting charcuterie board, and the room went silent. Not because it was scary, but because everyone stopped in their tracks to admire this gorgeous ghostly silhouette staring back at us from dark cheeses, blackberries, and olives arranged with such care. That moment, watching guests lean in closer to figure out if it was actually edible—it was pure magic. Now whenever October rolls around, I'm that person who brings this board because it's become my favorite way to say "I put thought into this, and I want it to taste as good as it looks."
I remember my coworker Tom bringing store-bought appetizers to his Halloween gathering, and then my mom showed up with a version of this board. Within minutes, that board had become the actual party centerpiece—not just where people grabbed snacks, but where they gathered, talked, and kept coming back. There's something about arranging your own food with intention that transforms it from "something to eat" into "something to experience together."
Ingredients
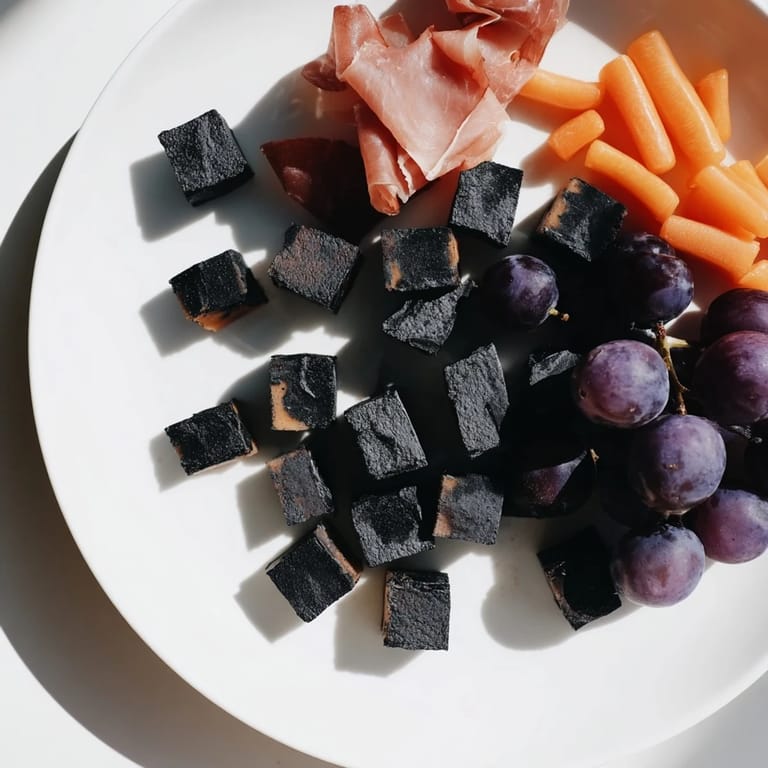
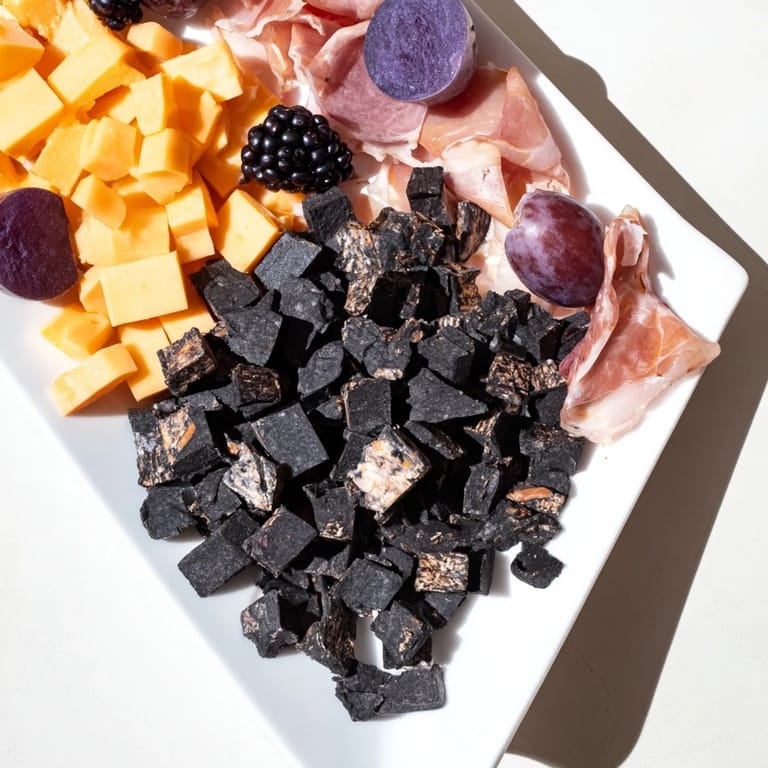
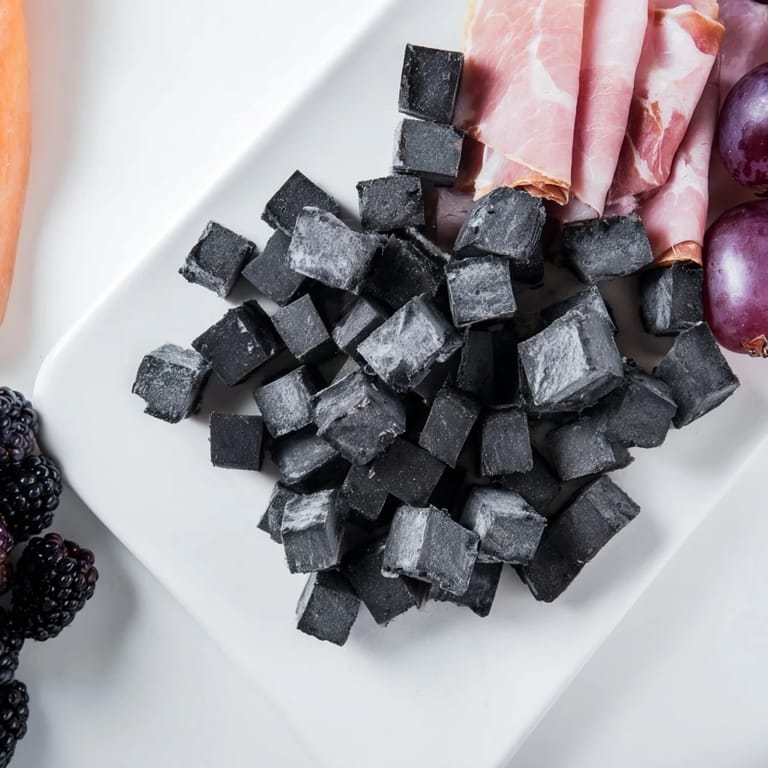
- Activated charcoal cheddar or black waxed cheese (150g, cubed): This is your hero ingredient for creating that bold ghost outline. The deep color contrast is what makes the silhouette actually visible. If you can't find charcoal cheddar, any black-waxed aged cheese works beautifully—it's not about the gimmick, it's about that gorgeous dark color that frames your ghost
- Aged gouda (150g, sliced): The sweetness and rich golden color create a warm backdrop that makes the dark silhouette pop even more. I learned this one the hard way—mild cheeses get visually lost, but aged gouda has both the color and complexity to earn its space
- Brie (150g, cut into wedges): Your creamy, luxurious moment. It's the ingredient people keep coming back to because it melts on the tongue. Cut it into wedges rather than cubes so it's easy to grab without disturbing your carefully planned layout
- Soppressata (100g, sliced): If you're including meat, this Italian salami adds speckled richness and doesn't overpower. The slight paprika notes actually complement the darker ingredients
- Prosciutto (100g, folded): The delicate, salty counterpoint. I fold mine loosely so it catches the light and adds visual interest—it's not just food, it's texture and dimension
- Black sesame crackers (100g): Essential for that outline. They're naturally dark, slightly nutty, and they don't compete with the cheese flavors. If you can't find black sesame, dark rye works in a pinch
- Pumpernickel bread (100g, sliced): Dense, earthy, and naturally dark—it's the edible architecture of your board. Slice it the day-of so it stays fresh and doesn't dry out
- Black grapes (1 cup): Nature's dark jewels. They roll into gaps, add visual drama, and their sweetness surprises people who aren't expecting it. I bunch mine loosely so they catch light and don't look like a blob
- Blackberries (1 cup): These are your secret weapon for the ghost's outline because they're naturally dark but jewel-like. They photograph beautifully too, which somehow matters more than we'd like to admit
- Dried figs (1/2 cup, halved): The sophistication ingredient. They add a caramel note that makes the board feel less Halloween gimmick and more genuinely delicious
- Black olives (1/2 cup): Briny, dark, and they nestle perfectly into outlines. I learned to pit mine beforehand because nothing derails a party moment like someone spitting out a pit mid-conversation
- Purple carrots (1/2 cup, sliced): These add unexpected color and crunch. They're your board's secret vegetable moment—people often forget they're there until they taste one and get pleasantly surprised
- Black olive tapenade (1/2 cup): Rich, umami-forward, and it adds a dip moment that makes the board interactive. A little goes a long way, so don't overshadow your careful arrangement
- Blackberry jam (1/2 cup): The sweet-savory element that makes people pause. Serve it in small bowls because spreading it directly on the board turns your art into a mess—I learned this the hard way
- Rosemary sprigs: These aren't just garnish. Break off a few needles as you eat—they're aromatic, fresh, and they cut through richness beautifully
- Edible flowers (optional, dark or purple varieties): If you use them, choose something like pansies or violas. They're your final touch of "I thought about this," and they add color without competing with your ghost outline
Tired of Takeout? 🥡
Get 10 meals you can make faster than delivery arrives. Seriously.
One email. No spam. Unsubscribe anytime.
Instructions
- Set your stage:
- Place your large, dark-colored board in front of you like you're about to paint. Light matters here—if you can, arrange this where natural light will make those dark ingredients glow. Use a small bowl or trace a piece of parchment paper to gently outline your ghost or bat shape in the center. Don't press hard; you're just creating a visual reference, not a permanent mark. Step back and smile at yourself for having a plan
- Build your dark outline:
- This is where the magic happens. Start with your darkest ingredients—the charcoal cheese cubes, black grapes, blackberries, and black olives—and arrange them closely around your outlined silhouette. Think of it like drawing with food. You're creating contrast, and contrast is what makes the ghost actually appear. The closer together these dark ingredients, the sharper your outline becomes. I like to start at the ghost's head and work down, making sure no background board peeks through at the edges
- Create the negative space:
- This is the secret that transforms a regular board into art. Leave the inside of your ghost or bat shape completely empty—no cheese, no crackers, nothing. That empty space is where your board's dark color shows through, and it's exactly what makes the silhouette visible. It feels counterintuitive to leave space on a charcuterie board, but resist the urge to fill it. Your restraint is what makes this work
- Fill the rest thoughtfully:
- Around the ghost outline, arrange everything else with intention but not rigidity. Place your cheeses—gouda, brie, charcoal cheddar—in clusters so people can easily grab a piece without dismantling your work. Lay down your meats in loose folds, your crackers at slight angles, your fruits in small groupings. Think of it like you're creating little flavor neighborhoods on your board. Each section should feel inviting and easy to navigate
- Add your dips strategically:
- Place small bowls of tapenade and jam at the corners or in open areas where they won't interfere with your ghost. These dips are like punctuation marks on your board—they complete the thought but don't dominate it. Leave about an inch of space around each bowl so it doesn't look cramped
- Fill gaps with grace:
- Step back and look for any awkward empty spaces that aren't part of your intentional negative space. Fill these with additional fruits, a handful of nuts if you're using them, and then add your final garnish layer. Tuck rosemary sprigs along the edges and scatter edible flowers if you're using them. This is your chance to add visual flourish without chaos
- Final reveal:
- Take a moment to check that your ghost or bat silhouette is still clearly visible. If parts of it have gotten lost, adjust the darkest elements to sharpen the outline. Then step back, take a photo if you want (no judgment), and position your board where it will be seen and admired before the mingling begins. Serve immediately while your arrangement is still pristine and magical
 Save
Save The moment I'll always remember is when my nephew, who's usually glued to his phone, actually put it down to stare at this board and ask, "Is that supposed to be a ghost?" His wonder was so genuine that it reminded me why I keep making this every October. It stopped being about the Halloween theme and started being about creating something that makes people pause and actually look at each other while eating together.
Choosing Your Silhouette Shape
I've made this board with both ghost and bat shapes, and honestly, the ghost is easier for beginners because the round head and simple body are forgiving. A bat requires more precision with those wing details, but it looks incredibly dramatic if you nail it. My advice? Start with ghost, master it, then branch out. The important thing is committing to one shape and sticking with it. A wobbly outline that keeps changing is the only real mistake here. If you're nervous, practice your outline on parchment paper first, tracing it a few times until your hand feels confident. There's no shame in taking two minutes to get this right—it sets up everything that comes after.
Ingredient Shopping and Substitutions
The beauty of this board is its flexibility. Can't find activated charcoal cheddar? Black waxed gouda works beautifully. Don't eat meat? The board is genuinely stunning without soppressata and prosciutto—the vegetarian version is actually more accessible for groups with mixed diets. Making this gluten-free? Swap your crackers and bread for gluten-free varieties from any decent grocery store. I've found that the secret to successful substitutions is thinking about three things: the color (does it contribute to the outline?), the texture (is it easy to grab?), and the flavor (does it belong on a savory board?). If an ingredient checks those boxes, it belongs here. I once substituted in some dark rye bread instead of pumpernickel, and honestly, nobody noticed the difference—they only noticed how good it tasted.
Timing and Preparation Strategy
Here's what I wish I'd known sooner: prep your ingredients the day before, but assemble the board the same day, ideally less than 30 minutes before serving. Cut your cheeses, slice your meats, arrange them on separate small plates, and store everything in the refrigerator overnight. This way, when you're ready to assemble, you're not scrambling to cut anything—you're just arranging and creating. Some ingredients benefit from last-minute decisions too. I've learned that blackberries stay fresher if you add them in the final five minutes, and pumpernickel bread is better sliced right before serving so it doesn't dry out. The rosemary can be prepped and stored in a damp paper towel, so you just grab it when you're ready. What really matters is that you're not stressed when your guests arrive. If you're calm and present, they'll feel that ease, and the board becomes less about perfect execution and more about the joy you're sharing.
- Prep all ingredients the evening before so assembly day is stress-free
- Arrange your board no more than 15 minutes before guests arrive to keep everything fresh and vibrant
- Keep your finished board in a cool area away from direct sunlight so colors stay rich and ingredients stay fresh
 Save
Save This board has become my October tradition, my dinner party secret weapon, and honestly, my favorite way to remind myself that food is about more than just eating. It's about creating moments. Make this for your people.
Recipe FAQ
- → How can I create the ghostly outline on the board?
Use a stencil cut from parchment paper or a small bowl to lightly trace the ghost or bat shape on the serving board before arranging ingredients.
- → Which ingredients help emphasize the silhouette?
Dark ingredients like activated charcoal cheddar, black grapes, blackberries, and black olives placed closest to the outline enhance the ghostly shape.
- → Can this be made gluten-free?
Yes, substitute regular crackers and breads with gluten-free varieties to accommodate gluten-free diets.
- → What vegetarian options are available?
Omit meats and use plant-based cheeses to adapt the arrangement for vegetarian or vegan preferences.
- → What garnishes complement the board?
Rosemary sprigs and edible dark or purple flowers add visual interest and subtle aroma to the presentation.
- → How should the board be served?
Serve immediately after arranging to ensure the silhouette remains clear for guests before ingredients are mingled.