 Save
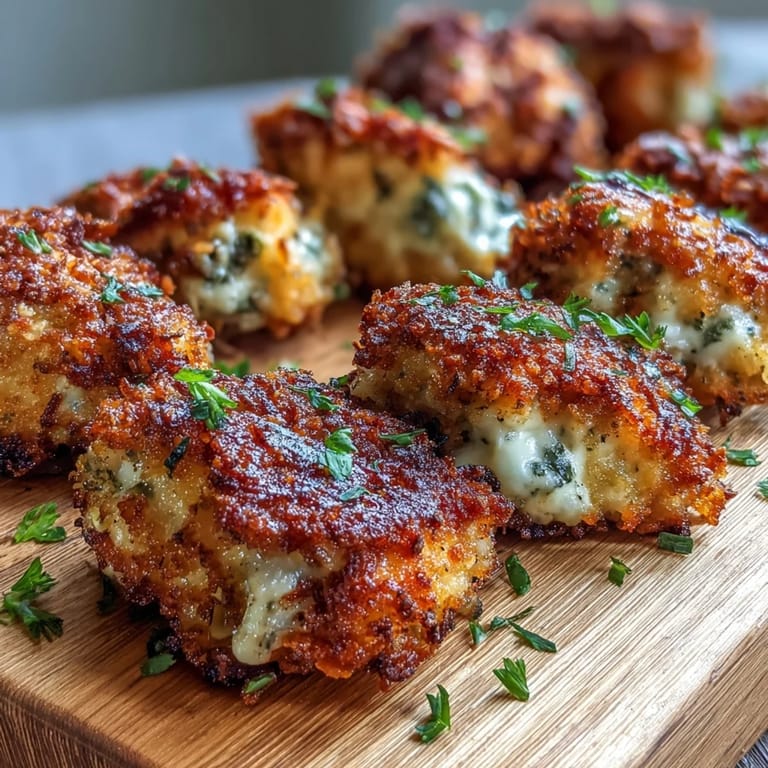
Save My friend texted me at 4 PM asking what to bring to a last-minute dinner party, and without thinking, I blurted out these Asiago panko chicken bites. I'd been playing around with them all week—crispy, cheesy, ridiculously easy to make—and suddenly I was pulling a pan out of the oven, golden and bubbling, knowing I'd just discovered something special. The kitchen smelled like toasted breadcrumbs and sharp cheese, and honestly, half the batch disappeared before we even left my house.
I made these for my mom's book club once, and the conversation literally stopped the moment everyone bit into one. One of her friends asked for the recipe right then and there, and I watched my mom's face light up like she'd just won something. That's when I knew this wasn't just another chicken recipe—it was the kind of thing that makes people feel cared for.
Ingredients
- Chicken breasts or thighs: Cut into 1-inch pieces so they cook through evenly and stay tender inside while the outside gets gloriously crispy.
- Panko breadcrumbs: These are larger and airier than regular breadcrumbs, which is what gives you that satisfying crunch that regular flour coating could never deliver.
- Asiago cheese: Finely grated so it melds with the panko and adds a sharp, nutty flavor that feels more interesting than plain parmesan.
- Eggs and milk mixture: The milk thins the egg slightly so it coats evenly without being too thick or drying out the chicken.
- Garlic powder and Italian herbs: These aren't optional in my book—they're what make these taste like something intentional rather than just breaded chicken.
- Olive oil or melted butter: This drizzle is essential; it's what turns baked chicken from dry to actually crave-worthy.
Tired of Takeout? 🥡
Get 10 meals you can make faster than delivery arrives. Seriously.
One email. No spam. Unsubscribe anytime.
Instructions
- Set up your workspace:
- Preheat the oven to 425°F and line a baking sheet with parchment paper. Having everything ready before you start means you won't be standing there mid-breading wondering where your pan is.
- Season the chicken:
- Toss your bite-sized pieces with salt and pepper—don't skip this step because it seasons from the inside out and makes the whole thing taste better.
- Prepare your breading stations:
- Whisk eggs with milk in one bowl until it's loose and pourable, and combine panko, Asiago, herbs, and garlic powder in another. Keep them side by side so you can move through the breading process without stopping.
- Coat each piece:
- Dip a chicken bite into the egg mixture, let the excess drip off, then roll it in the panko mixture and press gently so the coating actually sticks. Work in batches so you're not overwhelmed, and don't be shy about pressing—the cheese and breadcrumbs need to hold on.
- Arrange on the pan:
- Spread them out in a single layer so they're not touching, which allows hot air to circulate and cook them evenly instead of steaming.
- Add the golden finish:
- Drizzle or lightly spray the top of each bite with olive oil—this is what transforms them from baked to crispy. Don't skip it thinking they'll be fine; they really won't be.
- Bake and turn:
- Bake for 13 to 15 minutes, flipping halfway through so both sides get that beautiful golden color. You'll know they're done when they're golden brown and the internal temperature hits 165°F.
 Save
Save There was this moment when I made these for my kids' lunch boxes and found the containers empty by 2 PM, with a note saying they were the best thing ever. My youngest asked if we could make them again that weekend, and suddenly this simple recipe felt like something I'd created that brought my family a little closer together.
Storage and Make-Ahead Tips
These keep beautifully in an airtight container in the fridge for up to three days, and reheating them in a 375°F oven for about five minutes brings back nearly all the crispiness. I've also breaded them the night before and stored them uncovered on a plate in the fridge, then baked them fresh the next day—the coating stays intact and actually gets even more crunchy.
Flavor Swaps and Variations
The beauty of this recipe is how forgiving it is when you want to play around. I've used sharp cheddar instead of Asiago, added a pinch of cayenne to the breading for heat, and even mixed in fresh herbs like basil when I had them on hand. The structure stays the same, but you can absolutely make it your own.
Serving Suggestions and Dipping Sauces
These are incredible on their own, but they really shine when you give people options for dipping. I've watched people dunk them into marinara, ranch, honey mustard, and garlic aioli, and each one felt like discovering the recipe all over again. They're equally at home on top of a crisp salad, tucked into a wrap with vegetables, or served as part of a snack board.
- Make a quick garlic aioli by mixing mayo, minced garlic, and a squeeze of lemon for something restaurant-quality in two minutes.
- Serve them warm straight from the oven because they taste infinitely better at temperature than they do cooled down.
- If you're bringing these somewhere, pack the sauce separately and let people assemble them so the coating doesn't get soggy on the drive.
 Save
Save These bites have become my go-to when I need something that feels special but doesn't require fussing for hours. They're proof that the best recipes are often the simple ones that bring people back for more.
Recipe FAQ
- → Can I fry these instead of baking?
Yes, you can fry them in oil at 350°F (175°C) for 3-4 minutes until golden. Drain on paper towels before serving.
- → What cheeses work as substitutes?
Parmesan, Pecorino Romano, or aged cheddar all work well. The flavor profile will change slightly but remain delicious.
- → How should I store leftovers?
Keep refrigerated in an airtight container for up to 3 days. Reheat in a 375°F oven for 8-10 minutes to restore crispiness.
- → Can I make these gluten-free?
Absolutely. Use gluten-free panko breadcrumbs and ensure all other ingredients are certified gluten-free.
- → What dipping sauces pair best?
Marinara, ranch dressing, honey mustard, garlic aioli, or spicy buffalo sauce all complement the cheesy coating beautifully.